Back to BlogPrograms

How to run the GZCL Jacked & Tan 2.0 program

2026-08-1113 min read

Written by Hamza J

How to run the GZCL Jacked & Tan 2.0 program
Contents

Based on Cody LeFever's GZCL method, with some minor adaptations.

Twelve weeks, four days a week, one main lift a day. The whole block is one long trade: volume falls week after week while intensity climbs, from a ten rep max in week one to a genuine single in week ten. It tests your max twice, once in the middle and once at the end, and both tests are part of the program rather than something you do afterwards.

Who Is This Program For?

Jacked & Tan 2.0 is for the advanced lifter who already knows the GZCL tier system and wants a full twelve week block that builds size in the first half and strength in the second.

It suits you if:

  • You have run GZCLP or The Rippler and understand what T1, T2 and T3 mean
  • You can rate your own effort honestly, because most sets here are prescribed as rep maxes rather than as weights
  • You have twelve weeks and are not peaking for anything in the middle of them

It is not a beginner or early intermediate program. A ten rep max squat followed by drop sets is a session that will bury someone who has not built the work capacity for it, and the back half asks for singles at genuine maximums four days a week.

The Tier System, In One Table

TierWhat it isIntensityVolume
T1The main lift of the day85 to 100%10 to 15 total reps
T2Supporting compounds, two of them65 to 85%Higher
T3Isolation, two of themUnder 65%Highest

The T2 slot splits into two here, and they behave differently. T2a is straight sets at a fixed weight. T2b is a rep max followed by max-rep sets. Knowing which is which is most of knowing how to run this program.

Program Structure

4 Training Days

DayMain Lift
Day 1Squat
Day 2Bench Press
Day 3Deadlift
Day 4Overhead Press

Each day runs a T1, a T2a, a T2b and two T3 movements. T2 and T3 selection is yours within the rules: T2 is a close variation of that day's pattern, T3 is isolation for the muscles that pattern uses.

Phase 1: Weeks 1 to 5, Volume

WeekT1T1 drop setsT2aT2bT3
110RM2 × 6 @ 50%4 × 10¹⁵RM20RM
28RM2 × 6 @ 60%4 × 812RM18RM
36RM2 × 4 @ 70%4 × 610RM16RM
44RM2 × 4 @ 80%5 × 48RM14RM
52RM3 × 2 @ 90%7 × 26RM12RM

The T1 drop set percentages here are of your training max.

Read down any column and the shape is obvious: everything gets heavier and shorter at the same time, week after week, with no reset.

Phase 2: Week 6, Test

T1 only: work up and attempt a new one rep max. No T2a, no T2b, and a single lighter T3 exercise at a ten rep max to keep some blood moving.

The number you hit here is what the second half of the program runs on.

Phase 3: Weeks 7 to 11, Intensity

WeekT1T1 drop setsT2aT2bT3
76RM4 × 3 @ 85% of the 6RM6 × 512RMnone
84RM4 × 2 @ 85% of the 4RM5 × 510RM18RM
92RM4 × 1 @ 85% of the 2RM5 × 48RM16RM
101RM5 × 1 @ 90% of the 1RM5 × 36RM14RM
111RM5 × 1 @ 90% of the 1RM5 × 24RM12RM

The drop sets change base here. In phase 1 they are a percentage of your training max. From week 7 they are a percentage of the set you just took. That is why they get heavier even in weeks where the top set does not.

Phase 4: Week 12, Test

T1 only again: a new one rep max on all four lifts. No T2a, no T2b, one T3 exercise at a ten rep max.

Those four numbers are the inputs for your next cycle.
How to Run a Rep Max Set

Most sets in this program prescribe an effort, not a weight. "10RM" means work up to the heaviest weight you can take for ten reps today.

The rule:

  1. Warm up in small jumps toward the target
  2. Take the set
  3. Record the weight and the reps you actually got

Missing the target is fine. Beating it is also fine. A 10RM set that gives you 8 reps tells you the same useful thing as one that gives you 12: it tells you where you are today. What is not fine is picking a weight you know is easy and stopping at ten, because the whole program calibrates off these numbers.

Leave the last rep in the tank on the higher rep weeks. Grinding an ugly tenth rep in week 1 buys you nothing and costs you week 2.

If You Want a Starting Number

Use the standard rep max chart to convert from a one rep max:

Target% of 1RMTarget% of 1RM
1RM100%12RM70%
2RM95%14RM67%
4RM90%15RM65%
6RM85%16RM63%
8RM80%18RM60%
10RM75%20RM57.5%

Those are suggestions to warm up toward, not prescriptions. Note that they land exactly on the tier bands: a 6RM to a 1RM is 85 to 100%, which is T1, and a 15RM to a 6RM is 65 to 85%, which is T2.

The Max Rep Sets

T2b and T3 both work the same way and it is not the same as T2a.

  1. Work up to the rep max written for the week
  2. Take that set
  3. Take two more sets at the same weight, each for as many reps as you can manage with good form

You will get fewer reps on the second set and fewer again on the third. That is the point. Fatigue accumulation is the stimulus, and matching the first set on all three means the weight was too light.

T2a is different. It is straight sets at a fixed weight, and every set should look the same. If the last set of a 4 × 10 breaks down, the weight was wrong for the week.

Progression: How Weights Increase

There is no session-to-session increase and no weekly percentage climb on a fixed number. Progression comes from three places.

1. The rep max target falls. Week 1's 10RM and week 5's 2RM are the same effort at very different loads, and the weight you can take for two is far more than the weight you can take for ten. The bar gets heavier because the target gets shorter.

2. The drop sets climb. 50%, 60%, 70%, 80%, 90% across phase 1, then a percentage of an ever-heavier top set across phase 3.

3. The tests reset everything. Weeks 6 and 12 give you real numbers, and the next block is calculated from those instead of from an estimate.

At the end of week 12 you have two data points four weeks apart on every lift, which is more information than most twelve week programs give you.

Get Your Form Right First

Everything below assumes your form is already solid. Finding your working weight, adding weight, chasing reps, all of it only works if you can perform the lift correctly. While your form is not locked in, that is your only job. Make good form the goal of every set, not the weight on the bar. Drilling the movement with an empty bar beats loading plates onto a lift you cannot control yet.

To learn, don't hesitate to search Google and YouTube (there is a lot of good free material) and record yourself from the side to compare against a proper demonstration. In general, good form means a full controlled range of motion, a braced neutral spine, no bouncing or momentum, a consistent setup every rep, and ending the set when technique breaks down rather than grinding sloppy reps.

Finding Your Starting Weights

You need a current one rep max for every movement in the program, including the accessories. That sounds like a lot and it is the price of a program that prescribes everything as a rep max.

For the four main lifts, use a real number: a recent test, a competition lift, or a heavy triple converted with Weight × Reps × 0.0333 + Weight.

For the T2 and T3 movements you will not have tested a one rep max on a leg curl, and you should not. Estimate instead:

  1. Take the heaviest weight you have used on that movement for a set of ten
  2. Divide by 0.75, which is what the chart says a 10RM is

Example:

You do leg curls with 45 kg / 100 lbs for a hard set of 10:
  Estimated 1RM = 45 / 0.75 = 60 kg
                = 100 / 0.75 = 133, round to 135 lbs

Round down everywhere. The first two weeks of this program are the highest-rep weeks in it, and an inflated number turns week 1 into a session you do not recover from before week 2.

Warming Up

Warm-up sets are never counted in the working sets above.

SetWeightRepsRest
1Empty bar (20 kg / 45 lbs)845 seconds
2~40% of the target545 seconds
3~60% of the target360 seconds
4~80% of the target290 seconds
Work setsAs prescribedAs prescribedSee rest table

On a rep max set the warm-up and the ramp are the same thing. Take smaller jumps near the top so you arrive at the target set warm rather than pre-fatigued, and never take a warm-up set to failure on a week where the target is fifteen or twenty reps.

Rest Times

TierRest Period
T1, weeks 1 to 53-4 minutes
T1, weeks 7 to 124-5 minutes
T2a2-3 minutes
T2b2 minutes between the max rep sets
T360-90 seconds

The T2b rest is short on purpose. Two minutes is not enough to fully recover, and not fully recovering is what makes the second and third sets do their job.

When Things Go Wrong

If you miss the rep target on a T1 set, you have not failed anything. Record what you got and carry on. This program does not have a weight you can miss, only a target you can land above or below.

If you land far below the target three weeks running, your estimated maxes were too high. Recalculate from what you have actually been lifting and continue from where you are.

If week 5's 2RM feels lighter than week 4's 4RM, you are picking your weights too conservatively. Add to the target and be honest with the next one.

If you are wrecked rather than tired, cut the T3 work entirely for a week and keep everything else. T3 is the highest volume in the program and the cheapest thing to remove.

If you have to miss a session, pick it up where you left off rather than doubling up. The block only works in order.

Program Duration

The program runs 12 weeks at 4 sessions per week, which is 48 workouts. Weeks 1 to 5 build, week 6 tests, weeks 7 to 11 sharpen, week 12 tests again.

After week 12, take a few easy days, plug the new maxes in and run it again, or move into a peaking block if you have a meet.

If your week 12 numbers barely beat your week 6 numbers two cycles running, the answer is a different program rather than a third cycle.

Run Jacked & Tan 2.0 on Virtus Athlete

Enter your maxes once and Virtus Athlete works out all twelve weeks: the rep max suggestion for every tier every week, the drop sets off the right base in each half of the block, and the weeks where T2 and T3 drop out. Every set logged so your week 6 and week 12 tests sit next to each other in the same chart.

Free on iOS and Android.

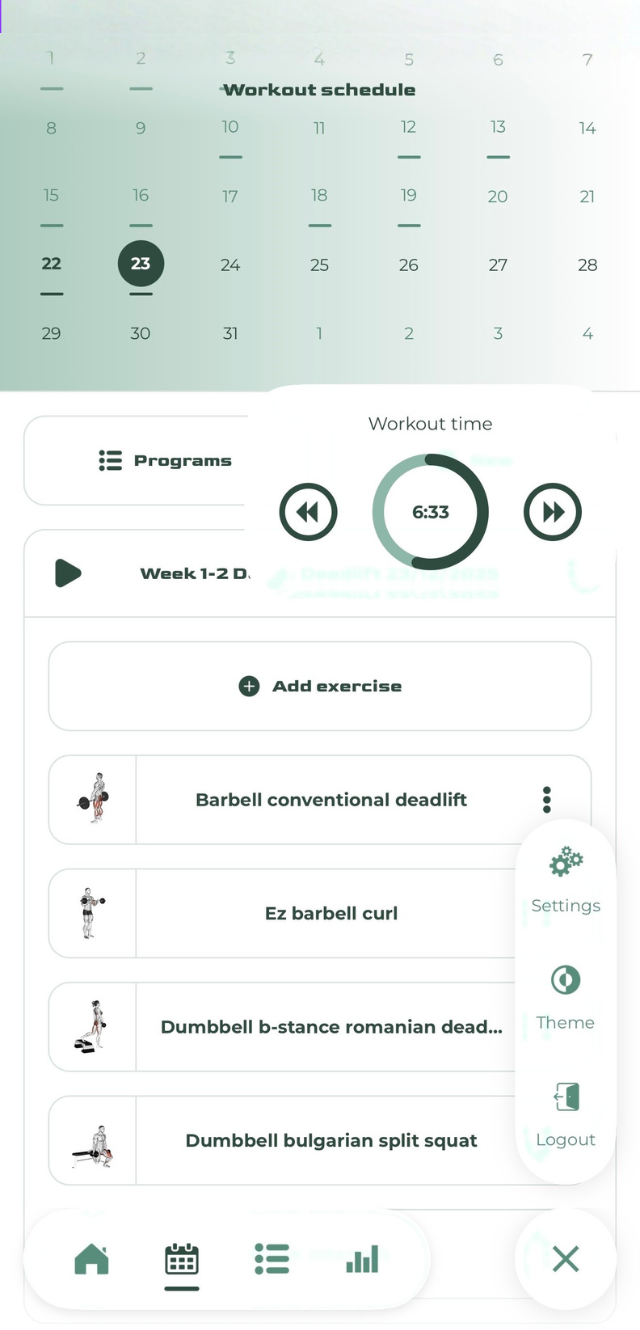
Virtus Athlete home screen with the week's scheduled workouts and progress summary

Frequently Asked Questions (FAQ)

How long does one full run take?
12 weeks at 4 sessions per week, so 48 total workouts, with tests in weeks 6 and 12.
What is the difference between T2a and T2b?
T2a is straight sets at a fixed weight, so every set should look identical. T2b is a rep max followed by two more sets at that same weight taken as far as you can. They train different things and running one like the other wastes both.
Can I pick my own T2 and T3 exercises?
Yes, and you are meant to. T2 should be a close variation of that day's main lift, and T3 should be isolation for the muscles that lift uses. Keep the same choices for the whole twelve weeks so the numbers mean something.
Why does T3 disappear in week 7?
Because week 7 is the first week of the intensity block and it comes straight off a test week. Dropping the highest-volume tier for one week is what lets the heavy work start cleanly.
Do I really need a 1RM for a leg curl?
Not a tested one. Estimate it from a set of ten and divide by 0.75. The number only exists so the app can suggest a starting weight for the rep max set.
Should I take the max rep sets to failure?
Close to it, not to it. Stop when your form changes. Failure on the second of three sets means there is no third set worth doing.
Can I run this at three days a week?
Run the four days in order regardless of the calendar. The week will take about nine days and the block will run closer to sixteen weeks, but the order is what matters.
What do I do with the week 6 test?
Use it. Every percentage in weeks 7 to 11 should be calculated from the number you actually hit in week 6, not from the estimate you started with in week 1.

Related Articles

Track This Program

Build unlimited programs, log every set, and track your progress over time. Free on iOS & Android.